What if someone create your intimated photo and threatening to share online?

What if someone create your intimated photo and threatening to share online?

What do you do if someone create your nude/intimated photo using Photoshop or AI or any photo editing tools and threatening to share your intimated photos online?

By using AI and deepfakes, even an apparently intimated photo or video can be manipulated in unexpected ways. Be careful of what you share online especially when it comes to children’s data. Remember, anything you share online is Data.

Share the information with your friends and family by raising awareness and knowing where to go for help.  We can protect ourselves online from the spread of deepfakes.

Take It Down is for people who have images or videos of themselves nude, partially nude, or in sexually explicit situations taken when they were under the age of 18 that they believe have been or will be shared online. For example, maybe you sent a picture to someone, but now they’re threatening you or have posted it somewhere. Even if you’re unsure whether the image has been shared but want some help to try to remove it from places it may appear online, this service is for you. If there is an explicit image of you from when you were 18 or older, you can get help at StopNCII.

StopNCII.org is a project operated by the Revenge Porn Helpline. It introduces innovative technology that is used by tech companies to help people from becoming victims by preventing sharing of specific intimate images.

How StopNCII Works?

  1. Select any intimate image(s)/video(s) from your device.
  2. StopNCII will generate a digital fingerprint – called a hash – of the image(s)/video(s) on your device.Don’t Worry! Your identity will remain confidential. A hash will be sent from your device, but not the image/video itself. Your content will not be uploaded, it will remain on your device.
  3. If your case is created successfully, you will receive a case number to check your case status – remember to make a note of your case number along with the PIN, to access your case after it is submitted. This is not recoverable.
  4. Participating companies will look for matches to the hash and remove any matches within their system(s) if it violates their intimate image abuse policy.
  5. StopNCII will periodically continue to look for fingerprint matches on participating websites.
  6. You may use your case number to check the progress on your case at any time or withdraw it.

Take It Down is a free service that can help you remove or stop the online sharing of nude, partially nude, or sexually explicit images or videos taken of you when you were under 18 years old. You can remain anonymous while using the service and you won’t have to send your images or videos to anyone. Take It Down will work on public or unencrypted online platforms that have agreed to participate.

How Take It Down Works?

  1. Select the explicit image or video that you want hashed from your device and click on Get Started. Please do NOT send, share, or download any image or video in order to submit to Take It Down. Submissions should only be made for images or videos you already have on your device.
  2. For each image or video, Take It Down will generate a “hash” or digital fingerprint that can be used to identify an exact copy of that image or video.
  3. Your image or video remains on your device and is not uploaded. The hash is added to a secure list maintained by NCMEC that is shared only with participating online platforms who have agreed to use this list to scan their public or unencrypted sites and apps for the hashes of your explicit content.
  4. If an online platform detects an image or video on its public or unencrypted service that matches a hash value, it can take action to limit the spread of the explicit content!
  5. Please do not share the images/videos on any social media after you have submitted them here. Once the hash value for your image or video has been added to the list, online platforms may use them to scan their public or unencrypted services. If you post the content in the future, it may be flagged and could put a block on your social media account.

StopNCII Industry Partners:

Companies who will receive cases and hashes from StopNCII.org:

  • Facebook
  • Instagram
  • Threads
  • Tiktok
  • Reddit
  • Bumble
  • Pornhub
  • NIANTIC
  • ONLYFANS
  • SNAP INC

Follow Knocktotalk to stay up to date with the Cyber Updates and Solutions.

OOPS, THEY DID IT AGAIN! 2010 & 2024 IT GLITCH HAVE CONNECTION

OOPS, THEY DID IT AGAIN! 2010 & 2024 IT GLITCH HAVE CONNECTION

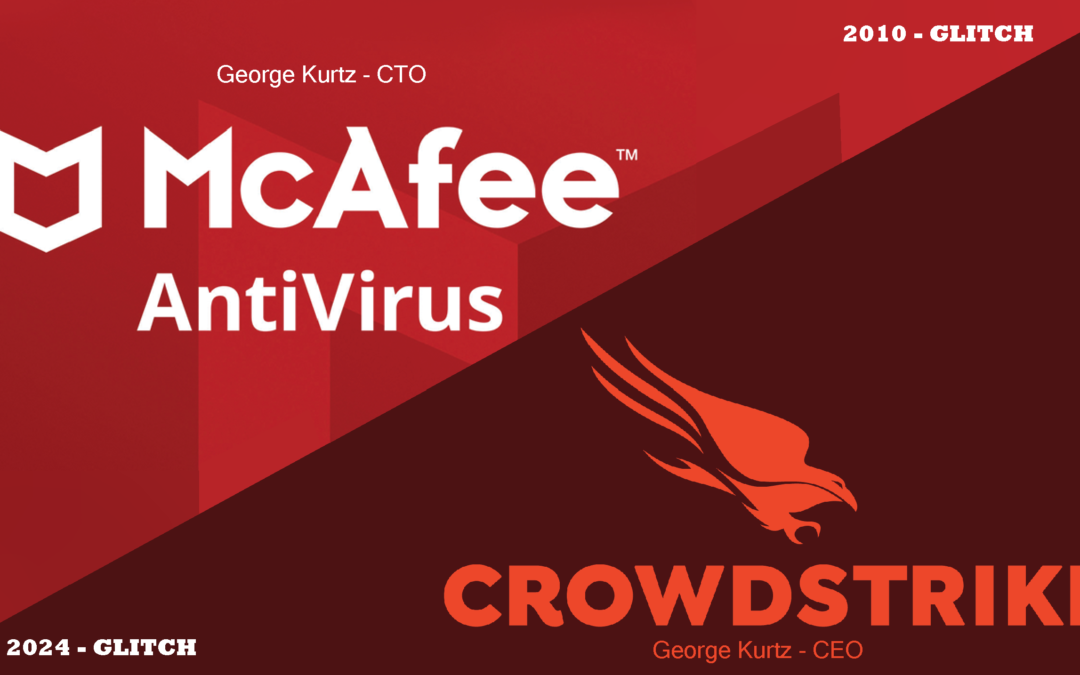
Do you know that the McAfee PC Meltdown and the Microsoft-CrowdStrike outage have a Connection??

we will go back to 2010 - mcafee

McAfee released an antivirus update that mistakenly deleted a key Windows XP file, which caused the follwing issues: 

  • Endless Reboots
  • No Network Access 

What Exactly Happened that time?

  • A false positive marked a regular Windows file, “svchost. exe,” as a virus.
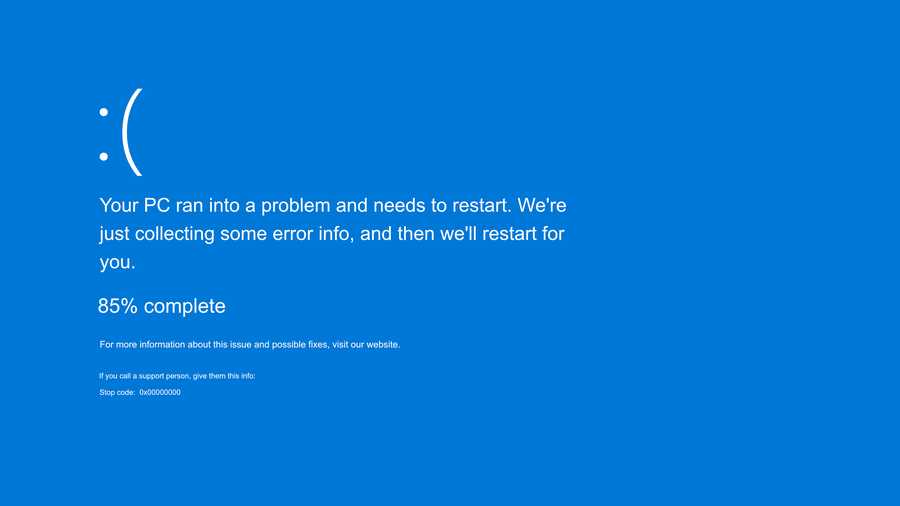
  • Systems showed Blue Screens and endless Shut Down.
  • The problem spread quickly through a network tool called “ePolicyOrchestrator.”

solution:

  • McAfee removed the Faulty update.
  • McAfee provided a new definition of the virus to fix it.

Now in 2024 - crowdstrike

As Reported – Crowdstrike update contained a bug which caused the sensor to conflict with the Windows OS.

This resulted in the infamous ‘Blue Screen of Death’.

Solution:

Interesting fact:

  • George Kurtz, now CEO of CrowdStrike, was McAfee’s CTO during this 2010 glitch.
  • The incident was so costly that Intel bought McAfee in 2011.

Tech issues happen, but it’s all about how we handle them. 

FOUND THIS ARTICLE INTERESTING?

FOLLOW AND SUBSCRIBE US TO READ MORE EXCLUSIVE CONTENT WE POST.

Chrome New Feature Scanning Files for Malicious Content

Chrome New Feature Scanning Files for Malicious Content

“We have replaced our previous warning messages with more detailed ones that convey more nuance about the nature of the danger and can help users make more informed decisions,”

Jasika Bawa, Lily Chen, and Daniel Rubery from the Chrome Security team said.

To that point, the Google has introduced two categories of download warnings based on measures provided by Google Safe Browsing:

  • Suspicious files
  • Dangerous files

Each category comes with its own graphics, colors, and fonts to help set them apart from each other and help users make the right choice.

Google is also adding automatic deep scan for users who have opted into the enabled Safe Browsing security mode in Chrome to avoid being redirected to Safe Browsing for deep scanning before opening a file each time.

“In Standard Protection mode, downloading a suspicious encrypted archive will also trigger a prompt to enter the file’s password, but in this case, both the file and the password stay on the local device and only the metadata of the archive contents are checked with Safe Browsing,” it said.

STANDARD PROTECTION:

When you use Chrome, Standard protection is on by default, and you’ll receive warnings about sites, downloads, and extensions that have been identified as dangerous.

In order to hide your IP address when you visit a site, Chrome sends an obfuscated portion of the URLs you visit through privacy servers before they’re forwarded to Google. Neither Google nor the third-party operating the privacy server can see both the URL you’re visiting and your IP address. Google checks the obfuscated portion of the URL against Safe Browsing lists and warns you if the site is on one of the lists.

Standard protection:

  • Sends full URLs and bits of page content to Google only if a site does something suspicious.
  • Provides an option to help improve security for you and everyone on the web.
  • Provides an option to warn you if you use a password that’s been compromised in a data breach.

ENHANCED PROTECTION:

When you turn on Enhanced protection, you’ll receive warnings about potentially dangerous sites, downloads, and extensions, even ones Google didn’t previously know about.

When you visit a site, Chrome sends the URL of the site and a small sample of page content, extension activity, and system information to Google Safe Browsing to check if they’re potentially harmful, including in-depth scans of suspicious downloads. Info sent to Google Safe Browsing is only used for security purposes.

If you’re signed in to your Google Account, Safe Browsing protection extends across your Google services by saving this data to your Google Account — for example, Safe Browsing can increase protection in Gmail after a security incident.

Enhanced protection:

  • Improves security for you and everyone on the web.
  • Warns you if you use a password that’s been compromised in a data breach.
  • Doesn’t noticeably slow down your browser or device.

Change your Safe Browsing protection level

  1. On your computer/laptop, open Chrome.
  2. At the top right, select More More and then Settings.
  3. On the left, select Privacy and security > Security.
  4. Select the level of “Safe Browsing” you want to use.
    • Enhanced protection
    • Standard protection
    • No protection

For a more private and secure browsing experience, you can also review and manage your Advanced security settings. 

  1. On your Android device, open Chrome Chrome.
  2. Tap More More and then Settings Settings.
  3. Tap Privacy and Security > Safe Browsing.
  4. Select the level of “Safe Browsing” you want to use.
    • Enhanced protection
    • Standard protection
    • No protection
  1. On your iPhone or iPad, open Chrome Chrome.
  2. Tap More More > Settings Settings.
  3. TapPrivacy and Security > Safe Browsing.
  4. Select the level of “Safe Browsing” you want to use.
    • Enhanced protection
    • Standard protection
    • No protection

Found this article interesting?

Follow and Subscribe us to read more exclusive content we post.

Microsoft Releases the Recovery Tool

Microsoft Releases the Recovery Tool

I had posted earlier regarding the issue resolved so continueing the same, I am sharing the details how to fix the issue signed methods of Microsoft. We are providing and merging authentic details from Microsoft and Crowdstrike on one platform to help expedite the repair process. Microsoft has released an updated recovery tool with two major repair options.  Microsoft Recovery Tool can be found in Download centre.

We will share here the complete recovery steps for the Windows client, Servers, and OS’s hosted on Hyper-V. The two repair options are as follows:

  • Recover from WinPE – Using bootable media that will facilitate the device repair and to create bootable media can be used Recover from WinPE.
  • Recover from safe mode – Impacted devices can boot into safe mode. The user can then login using an account with local admin privileges and run the remediation steps.

Prerequisites to create the boot media

  1. A Windows 64-bit client with at least 8GB of free space from which the tool can be run to create the bootable USB drive.
  2. Administrative privileges on the Windows client from prerequisite #1.
  3. A USB drive with max of 32GB. USB will be wiped and will be formatted automatically to FAT32.

Generate the WinPE recovery media

Following steps on the 64-bit Windows to generate WinPE Recovery Media:

    1. Download the Microsoft Recovery Tool from the Microsoft Download Centre.
    2. Extract the PowerShell script.
    3. Run MsftRecoveryToolForCSv2.ps1 from an elevated PowerShell prompt.
    4. The ADK will download, and media creation will start. It may take several minutes to complete.
    5. Choose one of the two options mentioned above for recovering affected devices.
    6. Optionally select a directory that contains driver files to import into the recovery image.
    7. Select the option to either generate an ISO or USB drive and specify drive letter.

Method-I: Recovery from WinPE media

  1. Insert the USB media into an impacted device and reboot it.
  2. During restart, press F8/F12/Dell (or follow manufacturer-specific instructions for booting to BIOS).
  3. From the BIOS boot menu, select Boot from USB and continue.
  4. If BitLocker is enabled, the user will be prompted for the BitLocker recovery key including the dashes. The recovery key options are provided here. For third-party device encryption solutions, follow any steps provided by the vendor to gain access to the drive.
  5. The tool will run the issue-remediation scripts as recommended by CrowdStrike.
  6. Once complete, remove the USB drive and reboot the device normally.

Method-II: Safe Boot media

Follow the below steps if you have access to the Local Administrator Account and want to fix the impacted device without using the Bitlocker Recovery Key:

    1. Insert the USB key into an impacted device and reboot it.
    2. During restart, press F8/F12/Dell (or follow manufacturer-specific instructions for booting to BIOS).
    3. From the BIOS boot menu, select Boot from USB and continue.
    4. The following message appears: “This tool will configure this machine to boot in safe mode. WARNING: In some cases, you may need to enter a BitLocker recovery key after running.”
    5. Press any key to continue.
    6. The following message appears: “Your PC is configured to boot to Safe Mode now.”
    7. Press any key to continue.
    8. The machine reboots into safe mode.
    9. The user runs repair.cmd from the root of the media/USB drive. The script will run the remediation steps as recommended by CrowdStrike.
    10. The following message appears: “This tool will remove impacted files and restore normal boot configuration. WARNING: You may need BitLocker recovery key in some cases. WARNING: This script must be run in an elevated command prompt.”
    11. Press any key to continue.
    12. The user repair will run and the normal boot flow will be restored.
    13. Once successful, the user will see the following message: “Success. System will now reboot.”
    14. Press any key to continue. The device will reboot normally.

References from the Microsoft/Crowdstrike

CrowdStrike Falcon issue impacting Windows clients and servers, please check below different references from Microsoft Blogs and Crowdstrike Blog:

We’ll continue to provide information to the issues as needed. 

Crowdstrike Technical Glitch

Crowdstrike Technical Glitch

A wide IT outage that spanned thousands of companies and individuals took place on Friday after a software glitch at CrowdStrike, a cybersecurity firm whose services are used by many organizations.

This resulted in “Blue Screen Death” error in  several Microsoft Windows devices leading to system crashes across businesses such as airlines, banks, retailers, media companies and stock markets, to name a few

CrowdStrike has acknowledged the problem and is working on a solution. While some systems have reportedly recovered, the full extent of the damage and recovery timeline remains unknown.

What is CrowdStrike and caused Outage?

CrowdStrike is a cybersecurity technology company founded in 2011. The company offers solutions like cloud workload protection, endpoint security, threat intelligence and cyberattack response services.

The outage is primarily attributed to a malfunctioning update from CrowdStrike’s Falcon Sensor, a component of their endpoint security software, designed to protect devices from cyber threats.

According to reports, the latest update contained a bug that caused the sensor to conflict with the Windows operating system. This resulted in the infamous ‘blue screen of death’.

Cybersecurity experts have warned the ongoing outage highlights a “critical” weakness threatening the operations of many organizations across the globe.

Crowdstrike users are urged not to download and install any update from the software until the issue is resolved.

Share
Share